こんにちは!
デザイナーの伊東です。
先日、Bootstrap4についてのセミナーに参加して来ました。
ALAKIでは、コーディングのテンプレートに1部Bootstrapのスタイルを採用しているくらいで、
完全にBootstrapをベースにサイト制作をすることはありませんでした。
Flexboxへ完全に対応していなかったことや、
bootstrap独自のスタイルを打ち消すCSSを用意する手間などがおもな原因です。
しかし、今回のセミナーで新しいバージョンのBootstrap4の新機能を知り、
その便利さや汎用性からテンプレートをBootstrap4ベースに移行することも検討しています。
現在は進行中の案件でテスト運用ているところです。
今回はどういった点が強化されたのかをご紹介します。
Flexboxへ対応
個人的にはFlexboxへの対応が一番嬉しいポイントです。
今やFloatよりもFlexboxを使うシーンが圧倒的に多いですが、
Bootstrap3では完全に対応していない状態でした。
そのため、ALAKIのコーディングテンプレートでは、
独自のFlexbox用のスタイルを用意して使用していました。
Bootstrap4ではFlexbox関連のクラスがとても充実しており、
メディアサイズに応じて細かく指定することができます。
指定できるクラスは以下の通りです。
基本設定
| .d-flex | display:flex |
| .d-(sm)-flex | ()内のサイズ以上の時にdisplay:flex |
並べる方向
| .flex-row | 左から横並び flex-direction: row |
| .flex-row-reverse | 右から横並び flex-direction: row-reverse |
| .flex-column | 上から縦並び flex-direction: column |
| .flex-column-reverse | 下から縦並び flex-direction: column-reverse |
横方向の整列
| .justify-content-start | 左揃え justify-content: flex-start |
| .justify-content-end | 右揃え justify-content: flex-end |
| .justify-content-center | 中央揃え justify-content: center |
| .justify-content-between | 両端から均等配置 justify-content: space-between |
| .justify-content-around | 等間隔で配置 justify-content: space-around |
縦方向の整列
| .align-items-start | 上揃え align-items: flex-start |
| .align-items-end | 下揃え align-items: flex-end |
| .align-items-center | 中央揃え align-items: center |
| .align-items-baseline | ベースライン揃え align-items: baseline |
| .align-items-stretch | 縦にいっぱいに伸ばす align-items: stretch |
メディアの対応サイズが4つに
Bootstrapまでは3つのメディアサイズに対応してスタイルを変化させることができましたが、Bootstrap4では1つ増えて、4つのメディアサイズに対応可能です。
| sm | 576px未満 |
| md | 768px未満 |
| lg | 992px未満 |
| xl | 1200px未満 |
上記のsm、mdなどのサイズを表す文字は、各クラスと合わせて使います。
試しに、先ほどのFlexboxのスタイルにサイズ指定を加えると以下のようになります。
|
1 2 |
.d-sm-flex →576px未満はdisplay:flex; |
横幅100%のコンテナ
Bootstrapの.containerといえば、横幅の最大値が決められており、
ウィンドウサイズが大きくなった時は最大値以上は大きくならないように制御されていました。
具体的には、通常の.containerはmax-width: 1140px;というサイズが指定されます。
Bootstrap4からは、横幅100%まで広がる.container-fluidが用意されています。
.container-fluidにはmax-widthが指定されず、width:100%;という値が指定されています。
ちなみに”-fluid”というクラス名は画像に対しても指定できます。
.img-fluidというクラスを画像につけると、親要素の幅に合わせて伸び縮みする
レスポンシブ対応になります。
新しいコンポーネント
Bootstrap4では新しいコンポーネント(パーツ)も増えました。
いくつか新登場のコンポーネントをご紹介します。
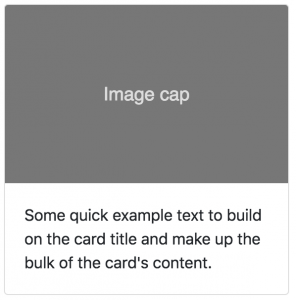
カードコンポーネント
ブログの記事一覧のような見せ方の時によく使われるレイアウトが、
カードコンポーネントです。
下記のような記述で再現できます。
|
1 2 3 4 5 6 |
<div class="card" style="width: 18rem;"> <img class="card-img-top" src=".../100px180/?text=Image cap" alt="Card image cap"> <div class="card-body"> <p class="card-text">Some quick example text to build on the card title and make up the bulk of the card's content.</p> </div> </div> |
カルーセルコンポーネント
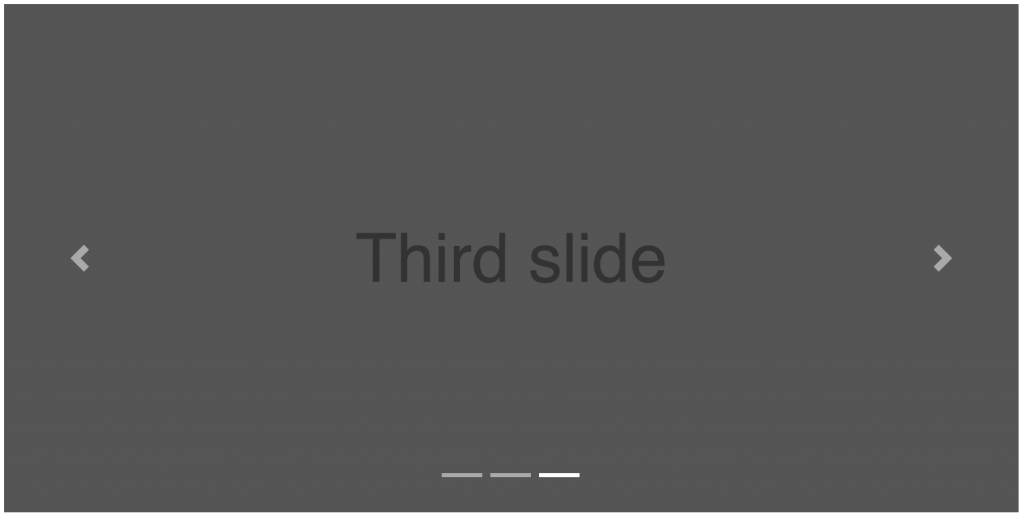
カルーセルスライダーもBootstarp4では標準で用意されています。
コントローラ、ページャーの表示/非表示など、細かい設定も可能です。
|
1 2 3 4 5 6 7 8 9 10 11 12 13 14 15 16 17 18 19 20 21 22 23 24 25 26 |
<div id="carouselExampleIndicators" class="carousel slide" data-ride="carousel"> <ol class="carousel-indicators"> <li data-target="#carouselExampleIndicators" data-slide-to="0" class="active"></li> <li data-target="#carouselExampleIndicators" data-slide-to="1"></li> <li data-target="#carouselExampleIndicators" data-slide-to="2"></li> </ol> <div class="carousel-inner"> <div class="carousel-item active"> <img class="d-block w-100" src=".../800x400?auto=yes&bg=777&fg=555&text=First slide" alt="First slide"> </div> <div class="carousel-item"> <img class="d-block w-100" src=".../800x400?auto=yes&bg=666&fg=444&text=Second slide" alt="Second slide"> </div> <div class="carousel-item"> <img class="d-block w-100" src=".../800x400?auto=yes&bg=555&fg=333&text=Third slide" alt="Third slide"> </div> </div> <a class="carousel-control-prev" href="#carouselExampleIndicators" role="button" data-slide="prev"> <span class="carousel-control-prev-icon" aria-hidden="true"></span> <span class="sr-only">Previous</span> </a> <a class="carousel-control-next" href="#carouselExampleIndicators" role="button" data-slide="next"> <span class="carousel-control-next-icon" aria-hidden="true"></span> <span class="sr-only">Next</span> </a> </div> |
まとめ
いかがだったでしょうか。
Flexboxへの対応、コンテナの100%対応、新しいコンポーネントの追加により、
現在のWebサイト制作の現場でより使いやすいフレームワークに進化した印象です。
Bootstrapをそのまま使うと、デザインの部分でいわゆる”Bootstrapっぽさ”が出て来てしまうので、
部分的にはBootstrapのスタイルを打ち消すようなCSSを追加する必要があります。
それぞれの利用シーンに合わせて、適切なCSSテンプレートをご用意されてみてはいかがでしょうか。


